

When I receive a product image, my first thought is usually not how spectacular its advertisement could be, but what is worth looking at. Layers along a glass edge, the curve of a ceramic rim, or a quiet reflection on metal may explain texture better than a fast orbit.
When planning a Kling 4.0 still-life sequence, I would keep the early objective small: can one beam of light, one shot size, and a short movement explain the product? If the visual direction works, I can consider a complete short. The following methods for preparing samples, writing shots, and selecting footage suit creators who already have product photos and want to establish a moving-image direction first.
The images throughout this article are visual references for composition, material, lighting, and production rhythm. They are not Kling 4.0 generated samples or records of personal tests.
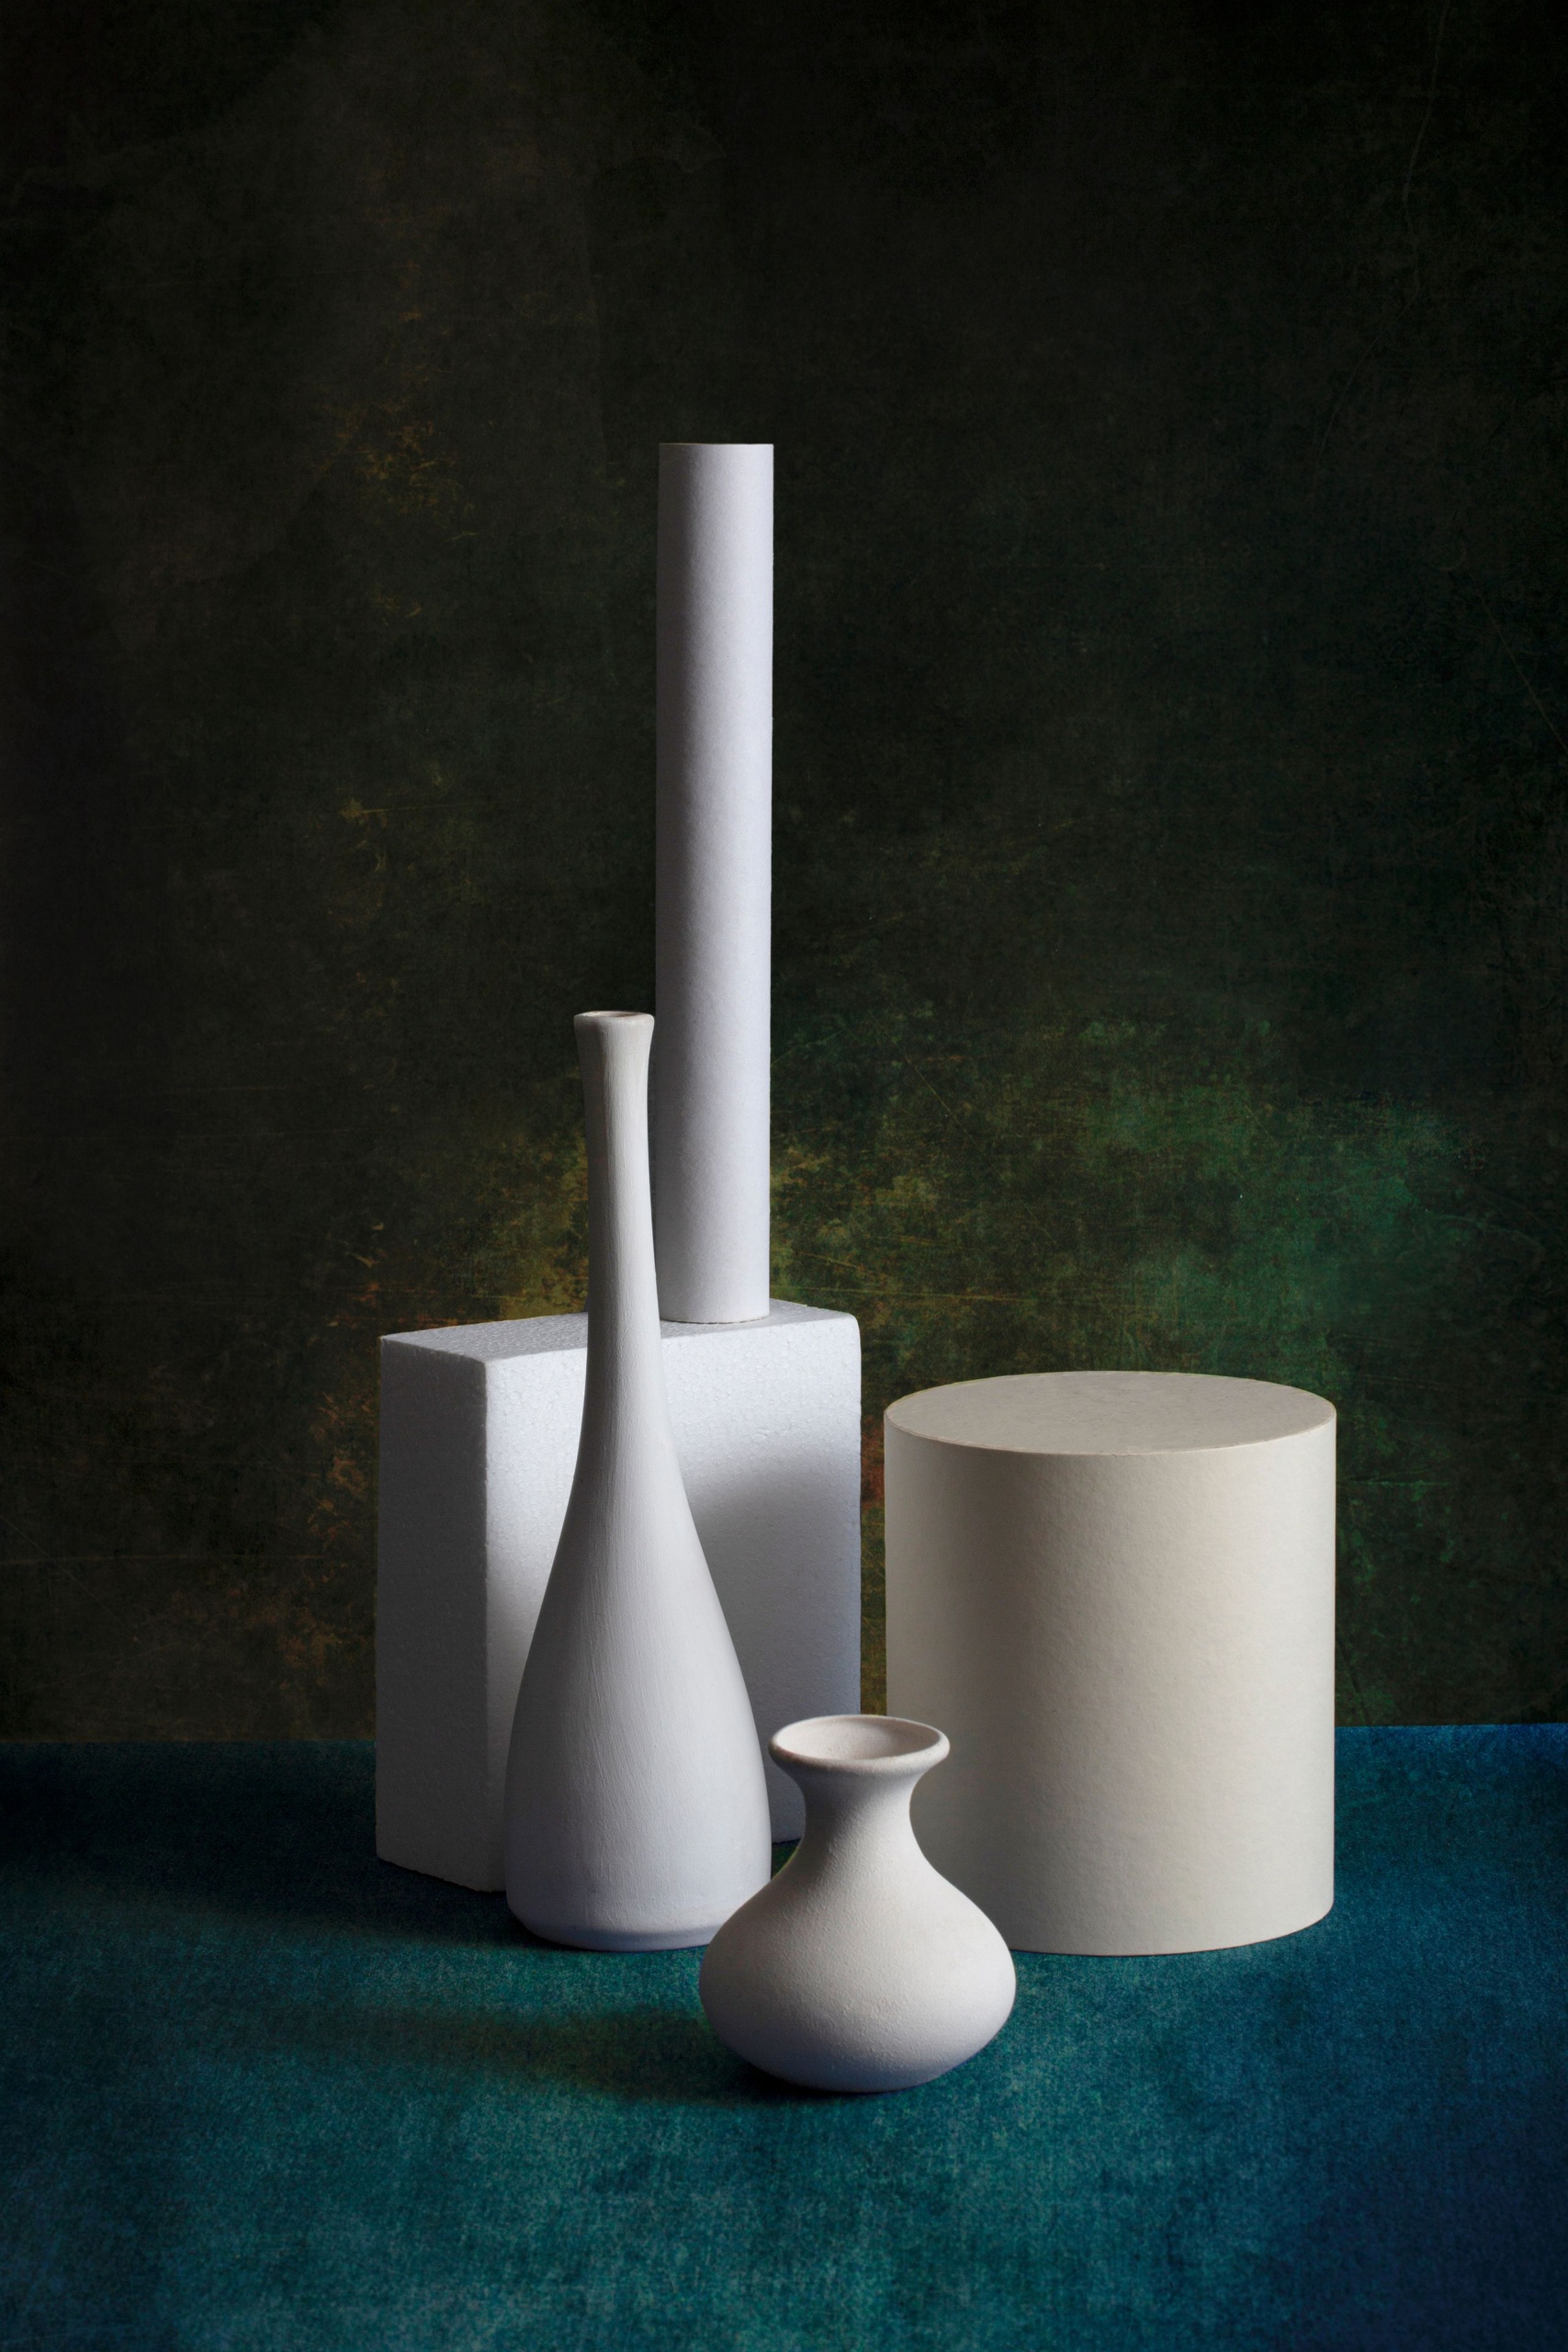
I would not begin with 'premium, luxurious, cinematic.' Those words express an expectation but do not tell the camera where to look. For a ceramic vase, the glaze and rim may matter; for a ring, the setting and metal curve; for a perfume bottle, the glass outline of its shoulders. Selecting one detail gives the shot a reason to pause.
Beside the product photo, I would note three things: which shapes must remain, what viewers should see, and where the final shot should stop. A vase's mouth width and side silhouette might be fixed, the image should reveal slight variations in the glaze, and the ending should show the shoulders clearly in close-up. If the client asks for 'more texture,' I can bring the discussion back to one specific area.
References also need distinct roles. The front view explains appearance, a detail image explains the surface, and a lighting reference explains atmosphere. If two product photos already disagree on color, rim shape, or size relationships, I would replace one first. Otherwise, when the output changes, it is hard to tell whether generation or conflicting references caused it.
A still-life video's movement can come from the camera or the light. In my first draft I would choose only one: keep the product still while a soft bright area crosses its surface, or keep the light steady while the camera slowly approaches. Comparing them separately makes the source of each change clear.
My moving-light draft might read: 'A light-colored ceramic vase stands on a matte surface. Fix the camera at the height of its shoulders. A wide, soft side light slowly travels left to right, revealing fine variations in the glaze and the rim's outline in sequence. Keep background brightness steady. Follow the reference for the mouth, body proportions, and position.' It gives a checkable objective, not a guarantee that the finished clip follows every instruction.
For a push-in, I would remove the moving light and write: 'The camera slowly approaches from directly in front, moving from the whole vase to a close-up of its shoulders. Pause briefly at the end; the vase does not rotate.' One main change per shot makes later feedback easier to locate. I would describe the route in natural language and adjust settings using the options on the current page.
On the first playback, I would look for time worth keeping: does the bright area cross the right place, is the beginning too abrupt, and does the ending leave room for an editing pause? On the second, I would inspect the rim, seams, fittings, and reflections, stopping at the beginning, middle, and end for comparison. A good first impression cannot replace that second check.
Before delivery, I would place the sample on its actual timeline. A softly daylight-lit shot followed by strong colored light may not connect, even if both are polished. Sound effects also need restraint: if the object does not collide with anything, I would not add a heavy metallic impact just to make it seem sophisticated. Images and sound should serve the product rather than take attention from it.
I can begin with the creation entry with trial access. The website offers several credit reward activities: credits for new registrations, check-ins, and inviting new users, plus additional credits when an invited friend completes their first top-up. These activities help accumulate more creative credits. Using them on one shot with a clear action makes the direction easier to judge than opening several plans without an endpoint.
I would first learn the steps of uploading references, entering instructions, and selecting footage, putting the first attempt into a small shot with a clear action and a reference for comparison.
Original video reference
When planning a Kling 4.0 still-life sequence, I would keep the early objective small: can one beam of light, one shot size, and a short movement explain the product? If the visual direction works, I can consider a complete short. The following methods for preparing samples, writing shots, and selecting footage suit creators who already have product photos and want to establish a moving-image direction first.
The images throughout this article are visual references for composition, material, lighting, and production rhythm. They are not Kling 4.0 generated samples or records of personal tests.
I would not begin with 'premium, luxurious, cinematic.' Those words express an expectation but do not tell the camera where to look. For a ceramic vase, the glaze and rim may matter; for a ring, the setting and metal curve; for a perfume bottle, the glass outline of its shoulders. Selecting one detail gives the shot a reason to pause.
Beside the product photo, I would note three things: which shapes must remain, what viewers should see, and where the final shot should stop. A vase's mouth width and side silhouette might be fixed, the image should reveal slight variations in the glaze, and the ending should show the shoulders clearly in close-up. If the client asks for 'more texture,' I can bring the discussion back to one specific area.
References also need distinct roles. The front view explains appearance, a detail image explains the surface, and a lighting reference explains atmosphere. If two product photos already disagree on color, rim shape, or size relationships, I would replace one first. Otherwise, when the output changes, it is hard to tell whether generation or conflicting references caused it.
A still-life video's movement can come from the camera or the light. In my first draft I would choose only one: keep the product still while a soft bright area crosses its surface, or keep the light steady while the camera slowly approaches. Comparing them separately makes the source of each change clear.
My moving-light draft might read: 'A light-colored ceramic vase stands on a matte surface. Fix the camera at the height of its shoulders. A wide, soft side light slowly travels left to right, revealing fine variations in the glaze and the rim's outline in sequence. Keep background brightness steady. Follow the reference for the mouth, body proportions, and position.' It gives a checkable objective, not a guarantee that the finished clip follows every instruction.
For a push-in, I would remove the moving light and write: 'The camera slowly approaches from directly in front, moving from the whole vase to a close-up of its shoulders. Pause briefly at the end; the vase does not rotate.' One main change per shot makes later feedback easier to locate. I would describe the route in natural language and adjust settings using the options on the current page.
On the first playback, I would look for time worth keeping: does the bright area cross the right place, is the beginning too abrupt, and does the ending leave room for an editing pause? On the second, I would inspect the rim, seams, fittings, and reflections, stopping at the beginning, middle, and end for comparison. A good first impression cannot replace that second check.
Before delivery, I would place the sample on its actual timeline. A softly daylight-lit shot followed by strong colored light may not connect, even if both are polished. Sound effects also need restraint: if the object does not collide with anything, I would not add a heavy metallic impact just to make it seem sophisticated. Images and sound should serve the product rather than take attention from it.
I can begin with the creation entry with trial access. The website offers several credit reward activities: credits for new registrations, check-ins, and inviting new users, plus additional credits when an invited friend completes their first top-up. These activities help accumulate more creative credits. Using them on one shot with a clear action makes the direction easier to judge than opening several plans without an endpoint.
I would first learn the steps of uploading references, entering instructions, and selecting footage, putting the first attempt into a small shot with a clear action and a reference for comparison.
Original video reference